
Install TimeForge with Quickbooks 2013
Open the TimeForge Accounting Translator
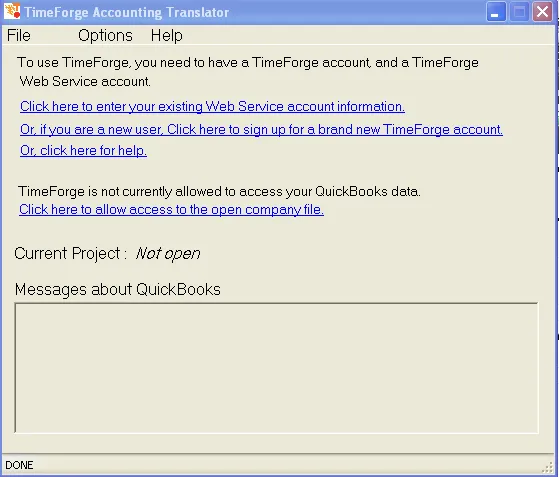
Section titled “Open the TimeForge Accounting Translator”With your QuickBooks company file open, open the TimeForge Accounting Translator. To use TimeForge you need a TimeForge account and a TimeForge Web Service account.
- If you already have a Web Service account, click Click here to enter your existing Web Service account information.
- If you are a new user, click Click here to sign up for a brand new TimeForge account.
Then click Click here to allow access to the open company file.
Allow TimeForge to access your company file
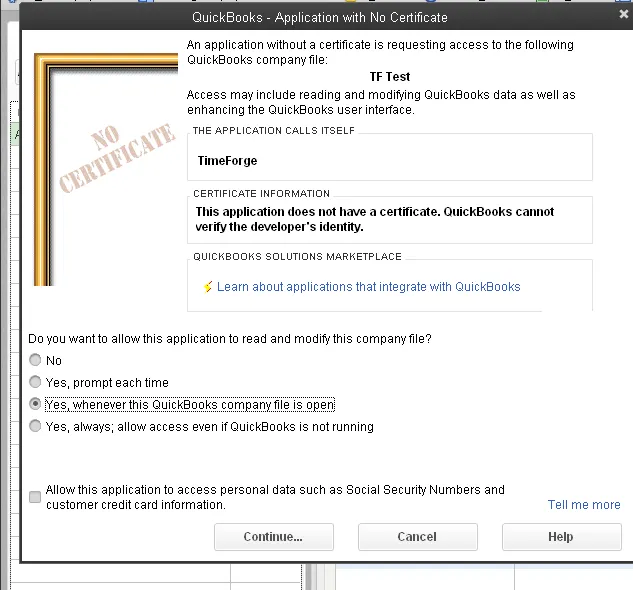
Section titled “Allow TimeForge to access your company file”QuickBooks asks whether to allow the application, which calls itself TimeForge, to read and modify the company file. Select Yes, whenever this QuickBooks company file is open, then click Continue.
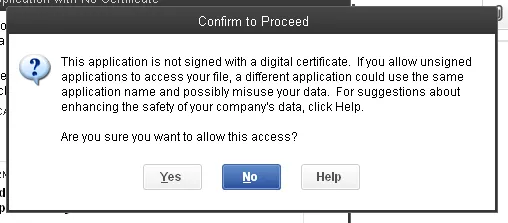
QuickBooks warns that the application is not signed with a digital certificate. Click Yes to allow the access.
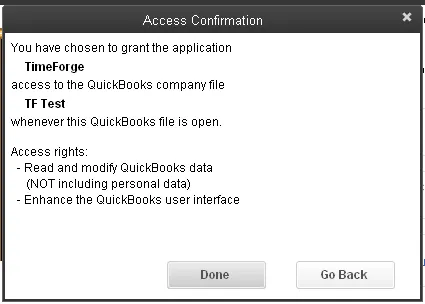
QuickBooks confirms that TimeForge can read and modify QuickBooks data (not including personal data) whenever the company file is open. Click Done.
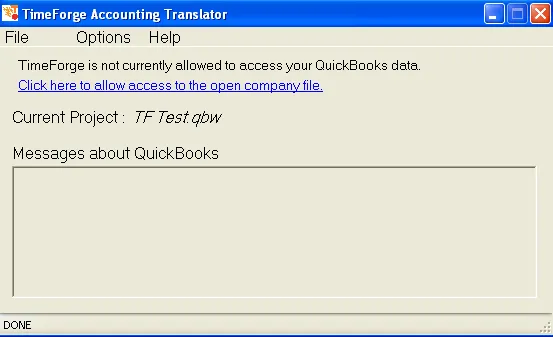
The Translator now shows your company file as the Current Project.
Choose the payroll item types
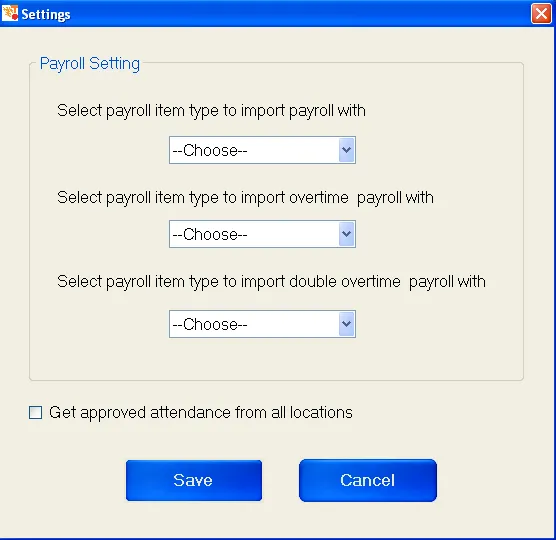
Section titled “Choose the payroll item types”In the Translator, open the Options menu and select Settings. Under Payroll Setting, choose the QuickBooks payroll item type to import each kind of payroll with:
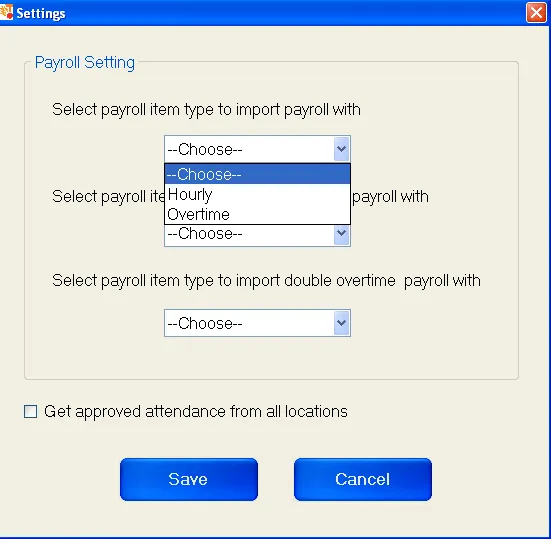
- Select payroll item type to import payroll with (for example, Hourly)
- Select payroll item type to import overtime payroll with (for example, Overtime)
- Select payroll item type to import double overtime payroll with
Check Get approved attendance from all locations if you want attendance from every location, then click Save.
The drop-downs list the payroll items set up in your QuickBooks company file.
Compare the employee lists
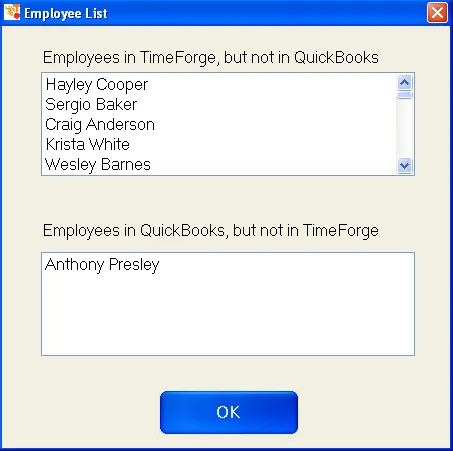
Section titled “Compare the employee lists”Open the Options menu and select Employee List. The Translator lists the Employees in TimeForge, but not in QuickBooks and the Employees in QuickBooks, but not in TimeForge. Hours can only be imported for employees who are in both.
Add missing employees to QuickBooks
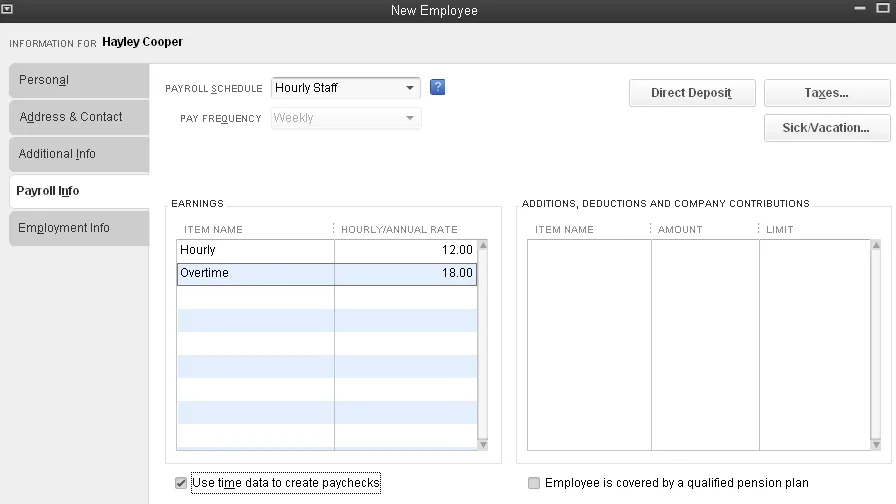
Section titled “Add missing employees to QuickBooks”For each employee who is in TimeForge but not in QuickBooks, add them in QuickBooks with the same name. On the employee’s Payroll Info tab, add the earnings items they’re paid with (for example, Hourly and Overtime, with their rates), and check Use time data to create paychecks.
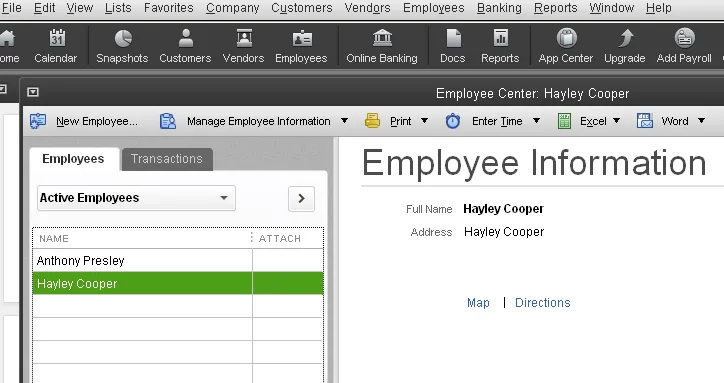
The employee now appears in the QuickBooks Employee Center.
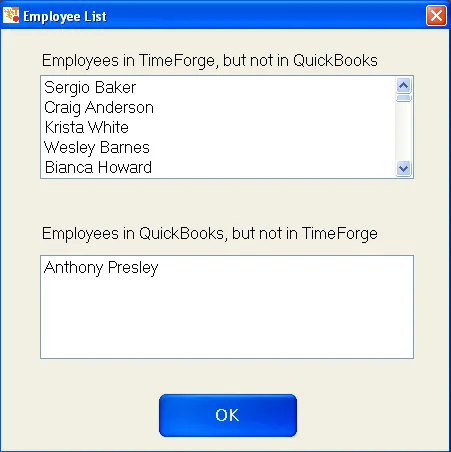
Open the Translator’s Employee List again to check: the employee you added is no longer listed under Employees in TimeForge, but not in QuickBooks.
Transfer your time sheets into QuickBooks
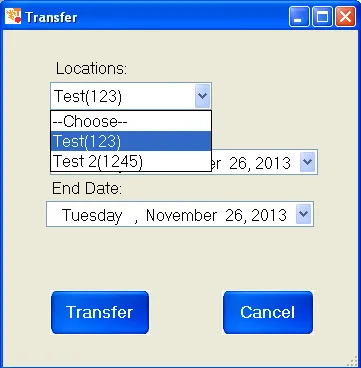
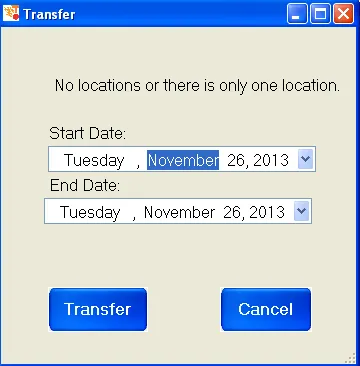
Section titled “Transfer your time sheets into QuickBooks”Open the Options menu and select Synchronize. In the Transfer window, choose the Start Date and End Date of the hours to import, then click Transfer.
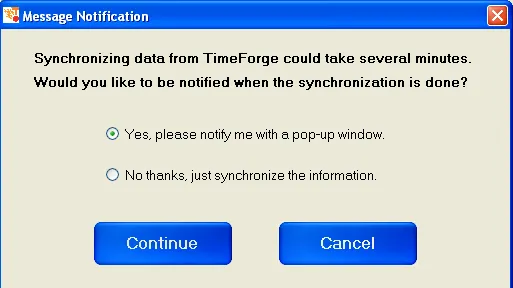
Synchronizing can take several minutes. Choose Yes, please notify me with a pop-up window to be told when it’s done, or No thanks, just synchronize the information, then click Continue.
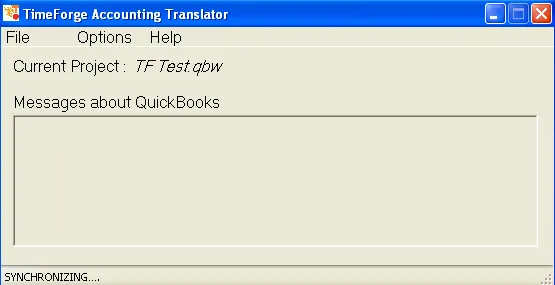
The status bar at the bottom of the Translator reads SYNCHRONIZING while the hours are imported.
Review the imported time sheets
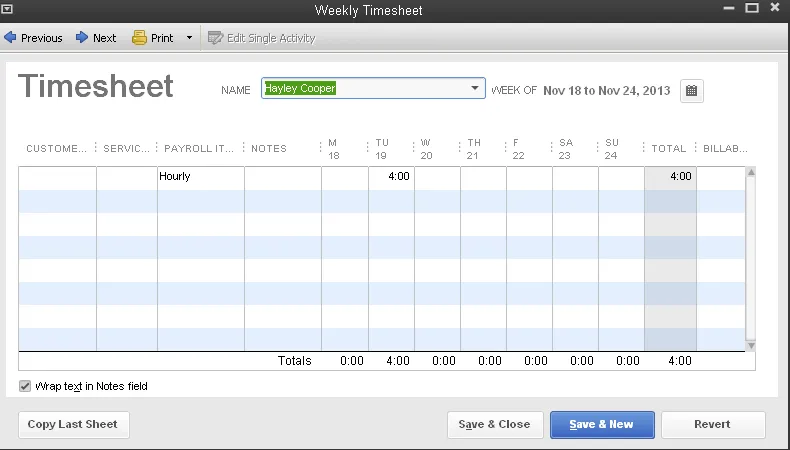
Section titled “Review the imported time sheets”In the QuickBooks Employee Center, select the employee, open the Enter Time menu and select Use Weekly Timesheet.
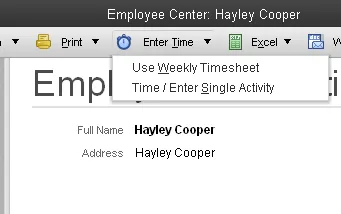
The hours imported from TimeForge appear on the employee’s weekly timesheet under their payroll item, ready for you to run payroll.
If you have more than one location
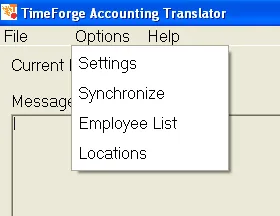
Section titled “If you have more than one location”Open the Options menu and select Locations.
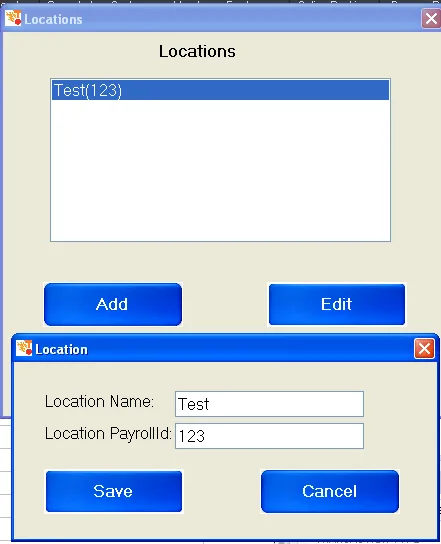
Click Add, enter the Location Name and Location PayrollId, and click Save. Repeat for each location. To change a location, select it and click Edit.
When you synchronize, the Transfer window now has a Locations drop-down. Choose the location to import hours for before you click Transfer.